
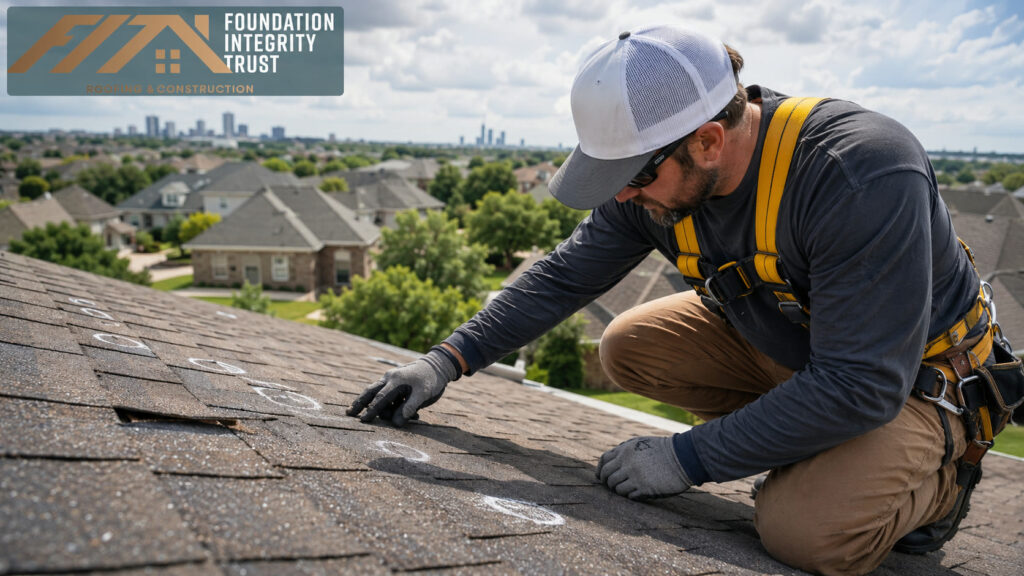
A hail damage roof inspection in Dallas-Fort Worth should start from what’s actually on the roof, not from guesses. It’s easy to spot one problem after a storm and jump straight to a product, a repair or a quote. A better approach works out what’s wrong, where it is, what it affects and how you’ll know the finished work did its job. Here’s how to go about it for a property in Dallas-Fort Worth or anywhere in North Texas.
What needs doing depends on the roof’s age and materials, the flashing, drainage and ventilation, and the damage you can actually see. A useful assessment ties those things to your priorities, budget and timeline. It also sorts what has to happen now, for safety or to stop more damage, from longer-term improvements.
Why a Hail Damage Inspection Needs a Written Plan
A written plan keeps everyone involved working toward the same result. Start with which parts of the roof and the house are included. Note problems that keep coming back, earlier repairs, any paperwork you already have and anything that limits when or how the work can be done. Photos and dated notes are more useful than vague descriptions.
Say what success looks like in terms you can check. Instead of “make it better,” name the problem you want to prevent or catch, the area that has to be protected, what should happen and who’s responsible. That makes quotes easier to compare and gives the contractor a clear standard to meet.
Before you ask for quotes, read how our storm and hail damage repair works. If you want to know more about hail itself, the National Severe Storms Laboratory answers common questions about hail. None of this replaces an evaluation of your own roof, the manufacturer’s instructions, the codes that apply or advice from a qualified professional.
Check Existing Conditions Before Choosing a Fix
Start with a careful inspection, done safely. Don’t climb onto a damaged roof without the right training. Note what you can see from somewhere safe, and pull together any drawings, maintenance records and old invoices for the roof.
Look for patterns: whether the problem shows up only after a storm, in one spot or in one season, when it started, and whether a temporary patch changed anything. The answers help you tell one damaged spot from a problem across the whole roof.
Some of what’s already there may be fine to keep, but check it rather than assume it. Its condition, whether it works with the new materials, and how easy it is to reach all matter. A part that still works can still be the wrong one to keep.
Questions to answer during the review
- What problem are we trying to prevent, find or fix?
- Which parts of the roof are included, and which aren’t?
- What can stay, and how will we check it works with the new materials?
- Does anything about access, safety or drainage limit the work?
- Who approves changes, and who looks after the roof once the job is done?
- What will show the work does what it should?
Build a Comparable Scope and Budget
Ask every roofer to price the same written scope. A cheaper quote may leave out access work, disposal, testing, paperwork or follow-up support. A pricier one may include things your property doesn’t need. Ask each of them to spell out their assumptions, what’s excluded and any allowances, so you’re comparing what you get for the money rather than the total at the bottom.
The scope should cover the prep, the installation, the final checks and the handover. Prep can mean surveys, measuring, permits, scheduling and choosing products. The installation part should say where the work goes and what materials are used. The final checks should say what gets tested. The handover should include photos, reports and the product paperwork that fits the job.
Don’t let anyone push you into a quick decision. An active leak or a hazard needs a prompt temporary fix, but longer-term work should still have a reason written down. Ask why the option they recommend fits what they found, what else they considered and what would change their mind.
Confirm the Repair Was Done Right
If the same work is going onto several roofs or buildings, do one typical area first. A trial run reveals access problems, parts that don’t fit, gaps in the paperwork and anything the crew needs to learn before it’s repeated everywhere. Pick a typical one rather than the easiest.
Write down how things looked before, what work was approved and how the final check went. If the trial run changes the plan, update the scope before going further. Tell the people who live or work there what disruption to expect and who to call. And make sure the crew has the safety procedures and the official instructions on hand.
The final check should show the work actually performs. Looking finished isn’t enough. Check it under normal conditions and against the problem it was meant to solve, and confirm the drainage paths and surface details.
Acceptance checklist
- Check that the work and the products match the approved scope.
- Check it works normally and handles the problem it was meant to fix.
- Write down anything that’s wrong and get it fixed before you sign off.
- Collect the photos, reports, product paperwork and any changes agreed on site.
- Make sure whoever looks after the roof knows the routine upkeep.
- Keep the contractor’s contact details and know how to arrange future work.
Plan Maintenance After the Repair
Someone has to own the roof once the work is done. Decide who handles routine checks, cleaning, drainage, inspections and service calls. Put the regular jobs on a calendar and keep the records where the next roofer can find them.
Book an early follow-up after some normal use or the next bout of bad weather. Weather and everyday use can reveal problems nobody could see on the day the job finished. Fixing them quickly protects what you’ve spent and keeps small defects from turning into bigger trouble.
Common mistakes to avoid
The most common mistake is choosing a fix before you know the cause. Others: assuming every roof is the same, ignoring what the existing roof will and won’t allow, not deciding who deals with problems, and accepting the work without a final check or paperwork. Handover records scattered all over the place make future maintenance slower and riskier too.
A better order is simple: inspect, decide what you need, compare quotes, try it on one area first where that makes sense, check the result and keep the records. It won’t remove every surprise, but you’ll have a reason on record for each decision and a fair way to judge the work.
Frequently asked questions
Can a homeowner do the first check?
Yes. You can gather the records and look at what’s safe to look at. Getting onto the roof, technical testing and the final recommendations should be left to qualified professionals.
Is the most expensive option always best?
No. The best option fixes the damage that’s actually been confirmed, suits your property and includes the testing and support you really need.
Can existing materials be reused?
Sometimes. It depends on their condition, whether they work with the new materials, and what you want the finished job to do.
What should I get when the job is done?
Ask for the photos, the results of the final checks, product details and manuals, a note of any changes made on site, maintenance instructions and who to contact if something goes wrong.
Book a Free Roof Inspection After a Hail Storm
A good hail damage roof inspection in DFW starts with evidence, a clear goal and a scope you can check. The answer might be a targeted repair, work done in stages, a compatible product or a bigger improvement. What’s actually on the roof should decide which.
Contact FIT Roofing & Construction with the address, what you need and your timing, and we’ll tell you the right next step.